
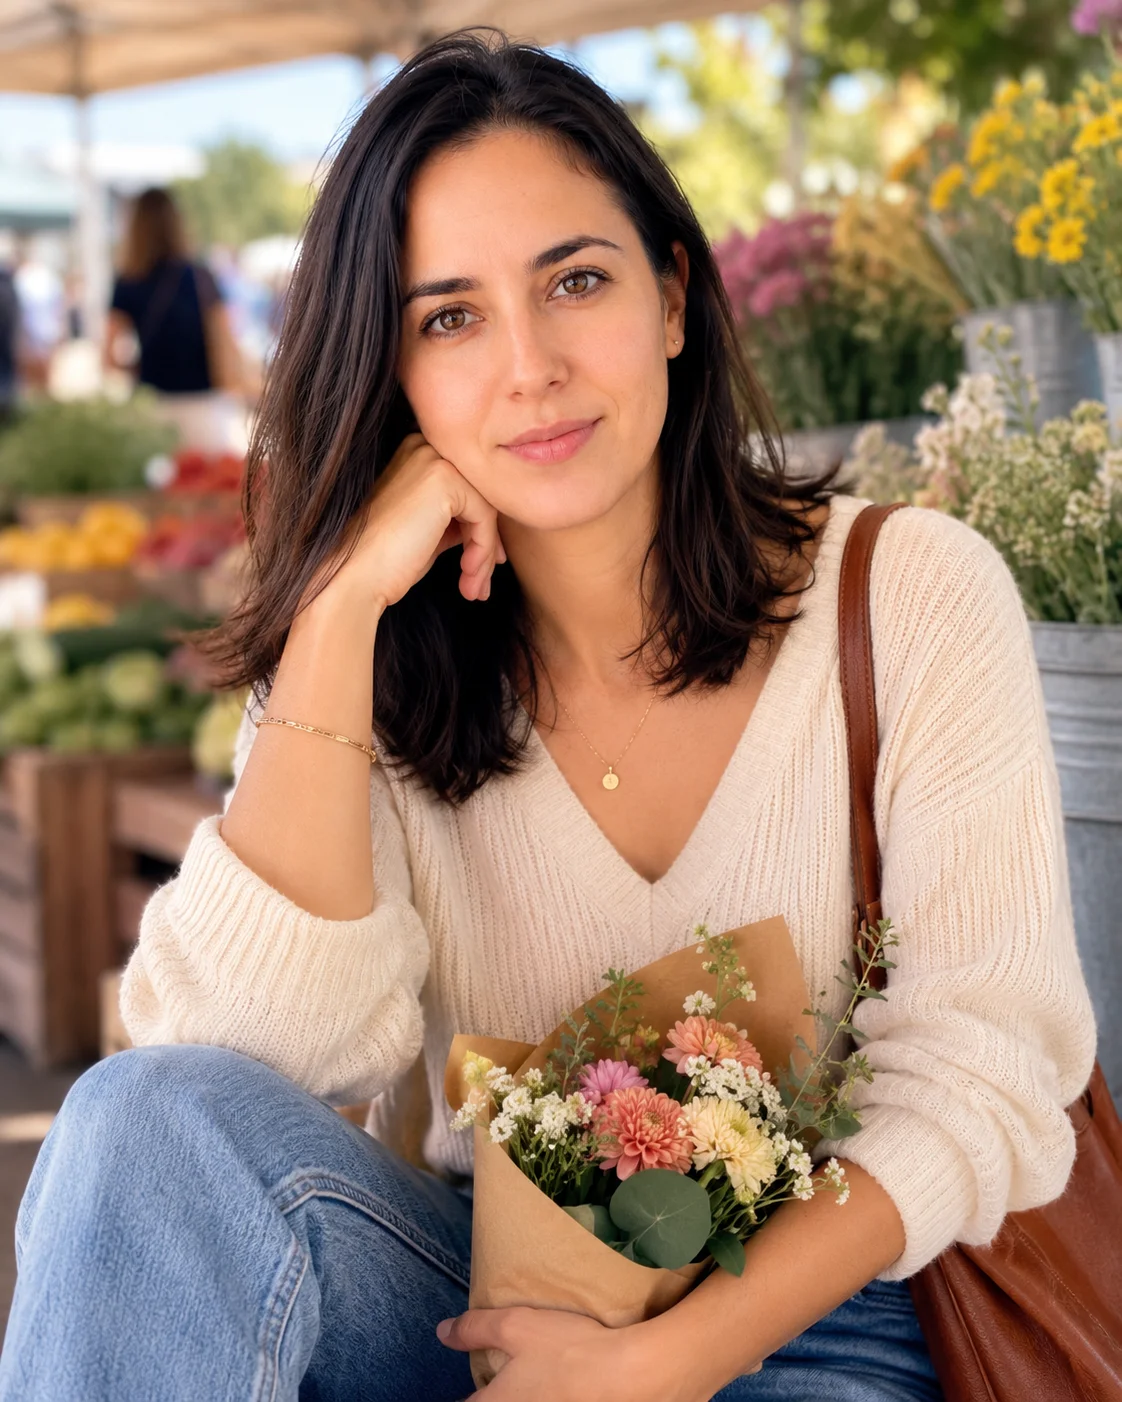
Photo order changes how the whole profile feels
Choosing six good dating photos is only half the job. The order determines how someone experiences them. A strong sequence answers questions in a natural rhythm: what do you look like, do you seem approachable, what is your life like, and is there something here worth starting a conversation about?
When the order is weak, even attractive photos can create friction. A group shot makes people search for you, a distant activity photo hides your face, or several polished portraits in a row make the profile feel staged. The best dating app photo order starts with certainty and adds dimension one image at a time.
- Photo one establishes your face and current appearance.
- Photos two and three build warmth and personality.
- Later photos add lifestyle, social context, and variety.
Photo 1: make recognition effortless
Your first photo has one clear job: make it easy to recognize you. Use a recent solo image with natural light, a readable expression, and a crop that works on a small screen. Your eyes should be visible, your face should be large enough to read, and the setting should not compete for attention.
The main photo does not need to be formal. Relaxed styles such as Weekend Coffee Walk, Park Bench Laugh, Blue Sky Portrait, or Farmers Market Smile often feel more inviting than a studio headshot. Choose the image that looks most like the person someone would meet on a first date.
- Use a solo photo with no sunglasses or heavy shadows.
- Choose a natural expression instead of a forced pose.
- Avoid leading with a mirror selfie, group shot, or distant full-body image.
Photo 2: add warmth and everyday context
Once your face is clear, the second photo should make the profile feel human. Show yourself in a believable everyday setting: walking outside, sitting near a cafe window, browsing a market, cooking, or relaxing in a park. This image should feel like a moment, not another version of the same headshot.
Warmth comes from expression, posture, and context more than perfect styling. Rainy Window Cafe, Houseplant Morning, Kitchen Pancake Moment, and Picnic Blanket Smile work because they suggest what spending ordinary time with you might feel like.
- Change the crop or angle from your first photo.
- Keep the setting plausible for your real life.
- Let a small smile or relaxed posture carry the image.
Photo 3: create an easy conversation hook
The third photo is where your profile should become easier to message. Use an activity, place, or interest that gives someone a natural opening: books, music, food, art, a local neighborhood, a trail, a sport, or a pet. The hook should be obvious enough to notice without requiring a caption to explain it.
Authenticity matters more than novelty. A quiet bookstore photo can say more than a dramatic travel image if books are actually part of your life. Bookstore Browse, Record Store Find, Museum Date Light, Comedy Club Glow, and Weekend Hike Trail are useful references because each scene provides one clear subject for a question.
- Show an interest you would genuinely enjoy discussing.
- Avoid borrowed props or activities chosen only to look impressive.
- Use one strong idea rather than a busy scene with several competing cues.
Photo 4: show more of your world
By the fourth photo, the viewer already knows your face and has a sense of your energy. Now you can widen the frame. A full-body photo, outdoor scene, social image, or travel moment can show how you dress, move, and spend time without asking it to carry the entire profile.
This is also the safest place for a group photo, if you use one. Make sure you are still easy to identify and avoid images where another person is more visually prominent. The photo should add context, not restart the guessing process.
- Use a clear full-body or environmental image.
- Place group photos only after several strong solo photos.
- Choose social context that feels current and natural.
Photo 5: add contrast without changing identity
The fifth image can introduce a different mood. If the earlier photos are casual, try a polished portrait, evening setting, or dressed-up look. If the profile already feels refined, use something playful or outdoors. Contrast keeps the set from feeling repetitive and shows that your personality is not limited to one pose.
The change should still feel believable. Pastel Profile Light, Warm Cinematic Portrait, Pearl Studio Portrait, Arcade Night Laugh, and Beach Boardwalk Breeze can add visual range while preserving the same face, age, and overall presence.
- Vary the setting, wardrobe, expression, or energy.
- Keep your appearance consistent across the full set.
- Skip any polished image that looks like a different person or invented lifestyle.
Photo 6: finish with personality
Your last photo does not need to be the most conventionally flattering. It should leave the profile with a little life. A candid laugh, pet moment, favorite activity, playful food shot, or memorable outdoor image can work well because the first five photos have already established clarity and trust.
Think of the final image as a closing detail rather than a second first impression. Sunset Dog Walk, Food Truck Bite, Arcade Night Laugh, Beach Volleyball Break, and Paddleboard Splash all create movement and give the profile a warmer ending.
- Choose personality over another similar portrait.
- End on an image that feels easy to react to.
- Remove the sixth photo if it adds confusion or weakens the set.
How to audit your final sequence
Review the profile twice. First, look only at the first three photos and ask whether they clearly show your face, warmth, and one conversation cue. Then look at all six and check whether the set has enough variety without creating inconsistency.
If you use AI-assisted photos, judge them by the same standard. They should improve light, framing, and context while preserving your real identity. A good dating app photo order feels like one person becoming easier to know, not six disconnected attempts to look impressive.
- Every photo has a distinct job.
- Your face is clear in the first image and recognizable throughout.
- No two consecutive photos use the same crop, pose, and expression.
- At least one image offers an easy conversation starter.
- The sequence feels current, believable, and consistent.